Cart
0

Introduction
The world of DIY crafting has never been more accessible or exciting than it is today. Whether you're looking to explore a new hobby, create personalized gifts, or transform your living space with handmade decorations, MDF cutouts offer an incredible foundation for creative expression. At Haoser, we understand that beginning a creative journey can feel overwhelming, which is why we've created this comprehensive guide to help you discover the endless possibilities of working with MDF cutouts.
MDF, or Medium-Density Fiberboard, has become a staple material in the crafting community. It's affordable, versatile, and perfect for artists of all skill levels. Unlike traditional wood, MDF is engineered to be uniform and smooth, making it ideal for painting, staining, and decorating. The pre-cut shapes available at Haoser eliminate the need for specialized tools or advanced woodworking skills, allowing you to focus on the creative aspects of your project.
This guide will walk you through everything you need to know about working with MDF cutouts, from selecting the right pieces for your project to finishing techniques that will make your creations look professionally crafted. Whether you're interested in home decor, personalized gifts, or artistic expression, MDF cutouts provide the perfect canvas for your imagination.
Understanding MDF Cutouts and Their Benefits
What Are MDF Cutouts?
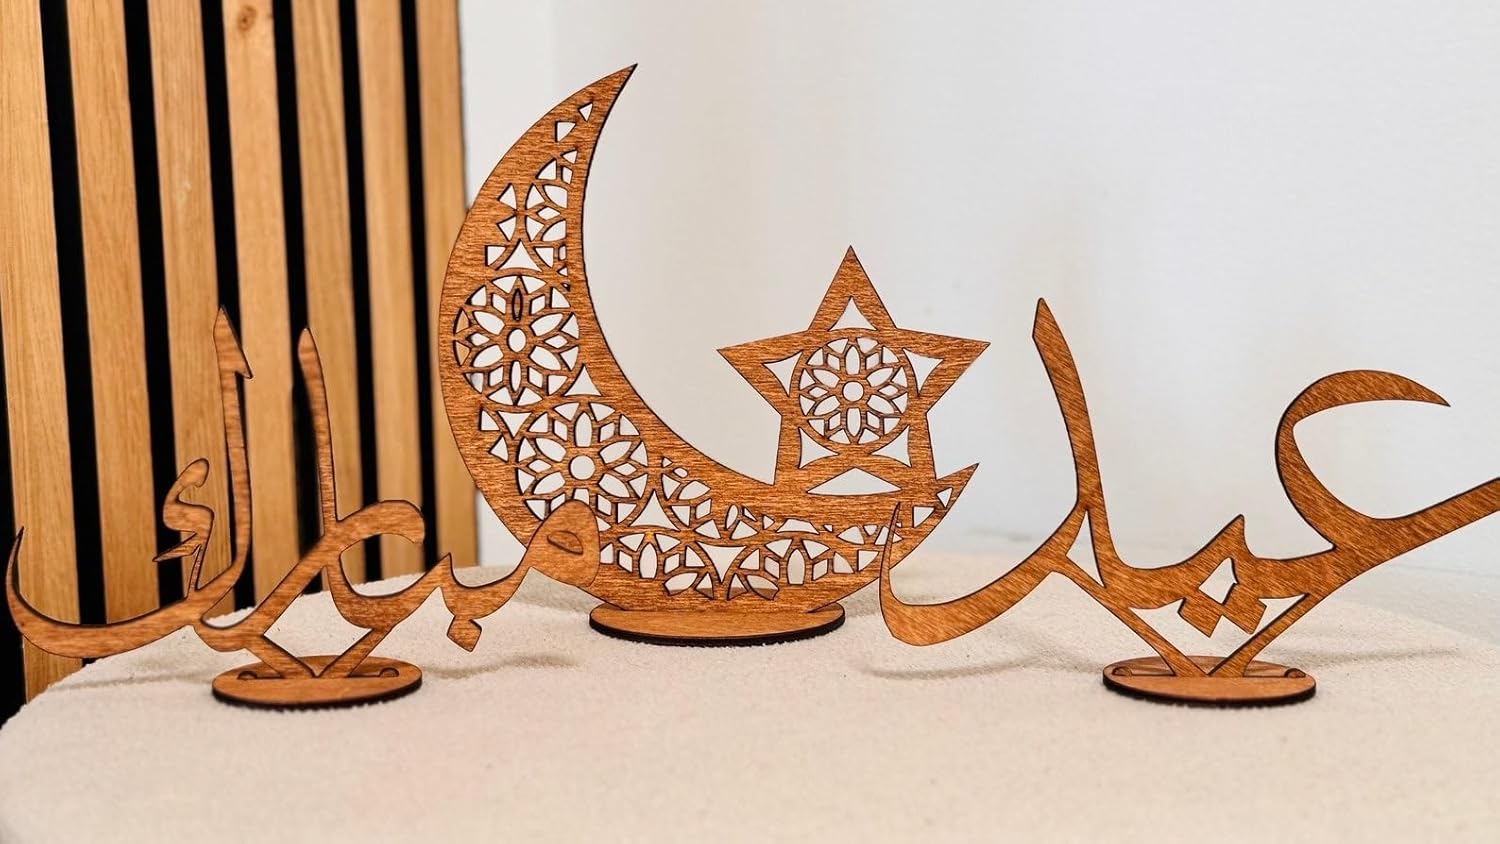
MDF cutouts are pre-shaped pieces of Medium-Density Fiberboard that come in countless designs and sizes. These pieces are precision-cut using advanced machinery, ensuring clean edges and consistent quality. The range available at Haoser includes everything from simple geometric shapes to intricate designs featuring animals, letters, numbers, seasonal themes, and decorative patterns.
The beauty of MDF cutouts lies in their versatility. Unlike solid wood, which can be difficult to work with without proper tools and experience, MDF is engineered to be user-friendly. The material is dense enough to hold paint and decorative elements securely, yet soft enough to be easily shaped, sanded, or modified if needed.
Why Choose MDF for Your DIY Projects?
There are several compelling reasons why MDF has become the material of choice for DIY enthusiasts and professional crafters alike. First and foremost, MDF is incredibly affordable. Compared to solid wood or other premium materials, MDF cutouts offer exceptional value without compromising on quality or appearance.
Second, MDF is environmentally conscious. It's manufactured from wood fibers and resin, utilizing materials that might otherwise go to waste. This makes it a sustainable choice for environmentally-minded crafters. Additionally, MDF is consistent in quality. Because it's engineered rather than natural, you won't encounter the grain variations, knots, or imperfections that can occur with solid wood.
Third, MDF is beginner-friendly. The smooth surface is perfect for painting, staining, or applying decorative finishes. It doesn't require special tools to work with, and mistakes are easily corrected with sandpaper or paint. The material is also lightweight, making it easy to handle and transport.
Finally, MDF offers unlimited creative possibilities. The pre-cut shapes serve as a starting point for your imagination. You can paint them, stain them, embellish them with beads and sequins, combine multiple pieces, or modify them to suit your vision.
Essential Tools and Materials for Getting Started
Basic Tools You'll Need
Before you begin your first MDF project, it's helpful to gather some basic tools. The good news is that most of these items are inexpensive and likely already in your home. A good quality paintbrush set is essential. Invest in brushes of various sizes to handle different areas of your project. Natural bristle brushes work well with stains and oils, while synthetic brushes are better for acrylics and latex paints.
Sandpaper is another crucial tool. Even though MDF cutouts come pre-finished, you may want to smooth any rough edges or prepare the surface for painting. A variety of grits, from 120 to 220, will handle most needs. A sanding block makes the process easier and more controlled.
A ruler or measuring tape helps ensure accuracy when planning your designs or spacing elements. A pencil is useful for sketching designs before you commit to paint. An eraser allows you to correct mistakes before they become permanent.
For more advanced projects, you might consider investing in a heat gun for applying certain finishes, a rotary tool for detailed work, or a wood stain applicator for even coverage. However, these are optional and not necessary for beginners.
Paint and Finish Options
The type of paint you choose significantly impacts the final appearance of your project. Acrylic paint is the most popular choice for MDF projects. It's water-based, easy to clean up, dries quickly, and comes in virtually every color imaginable. Acrylic paint adheres well to MDF and provides excellent coverage.
Latex paint is another option, particularly if you're working on larger projects. It's durable and offers a professional finish, though it takes longer to dry than acrylic.
For a more natural look, wood stain is an excellent choice. It penetrates the MDF surface, enhancing the grain appearance and creating a warm, sophisticated finish. Oil-based stains provide deeper color, while water-based stains dry faster and are easier to clean up.
Spray paint offers convenience and a smooth, even finish, making it ideal for projects where you want a professional appearance. However, spray painting requires proper ventilation and technique to avoid drips and uneven coverage.
Beyond paint, consider decorative finishes like glitter, metallic paints, or specialty finishes such as chalkboard paint or magnetic paint. These options allow you to create truly unique pieces that stand out.
Adhesives and Fastening Options
Depending on your project, you may need to attach MDF pieces together or add embellishments. Wood glue is perfect for joining MDF pieces. It's strong, dries clear, and is easy to apply. For heavier pieces or projects that will experience stress, consider using both glue and small nails or screws.
Hot glue guns are excellent for quickly attaching decorative elements like beads, ribbons, or fabric. They dry fast and create a strong bond, though they're not ideal for structural connections.
Double-sided tape and adhesive dots are useful for temporary placements or for attaching lightweight decorations. These options are particularly helpful when you're still deciding on the final layout of your project.
Preparing Your MDF Cutouts for Painting
Inspecting Your Materials
When your MDF cutouts arrive from Haoser, take time to inspect them carefully. Check for any damage during shipping, though our quality packaging ensures this is rare. Examine the edges to see if they're smooth or if they need sanding. Some crafters prefer to sand all edges lightly, even if they appear smooth, to ensure the best paint adhesion.
Look for any dust or debris on the surface. A soft cloth or brush will remove these particles. If there are any rough spots or splinters, use fine-grit sandpaper to smooth them out. This preparation step, though simple, significantly improves the final appearance of your project.
Sanding Techniques
Sanding MDF is straightforward and requires minimal effort compared to solid wood. Start with 120-grit sandpaper for any rough areas or edges. Use light pressure and sand in the direction of the grain if there is one visible. For most MDF cutouts, a few gentle passes are sufficient.
Follow up with 220-grit sandpaper for a final smoothing. This creates an ideal surface for paint adhesion. Wipe away all dust with a damp cloth and allow the piece to dry completely before painting.
For intricate designs or pieces with detailed cutouts, use a sanding sponge rather than a flat sheet. The sponge conforms to curves and detailed areas, ensuring even smoothing throughout.
Priming Considerations
While MDF doesn't always require primer, using one can improve paint adhesion and coverage, particularly if you're using dark colors or if the MDF has been stained. A quality primer creates a uniform base that helps paint colors appear more vibrant and true to their intended shade.
For most acrylic painting projects, a simple acrylic primer works well. Apply it with a brush or spray, following the manufacturer's instructions. One coat is usually sufficient, though two coats may be necessary for very porous MDF or if you're planning to use bold colors.
Painting Techniques and Color Application
Choosing Your Color Palette
Before you begin painting, spend time thinking about your color choices. Consider the purpose of your project and where it will be displayed. For home decor items, think about how the colors will coordinate with your existing furnishings and color scheme.
Color theory can guide your selections. Complementary colors create vibrant, energetic designs, while analogous colors create harmonious, soothing effects. Monochromatic schemes using different shades of a single color create sophisticated, elegant pieces.
Don't be afraid to experiment. One of the joys of working with MDF is that if you don't like your color choices, you can easily paint over them. Many crafters find that their best ideas come from happy accidents and unexpected color combinations.
Basic Painting Methods
The most straightforward approach is brush painting. Apply paint in thin, even coats, allowing each coat to dry before applying the next. This method gives you complete control and allows for detailed work. Use a brush appropriate for the area you're painting. Larger brushes cover broad areas quickly, while smaller brushes handle details and edges.
For a smooth, even finish with minimal brush strokes, consider using a foam roller or sponge applicator. These tools distribute paint evenly and are particularly useful for large, flat areas.
Dry brushing is a technique where you use minimal paint on your brush to create texture and depth. This method is excellent for aging effects, creating shadows, or adding dimension to your designs. Load your brush with paint, then wipe most of it off on a paper towel before applying it to your piece.
Sponge painting creates interesting texture and patterns. Dab a damp sponge into paint and apply it to your MDF piece in a stippling motion. This technique works particularly well for creating natural textures like stone, foliage, or clouds.
Advanced Painting Techniques
Ombre effects create a beautiful gradient from one color to another. Start with your darkest color at one end and gradually blend lighter shades toward the other end. This technique requires patience and blending, but the results are stunning.
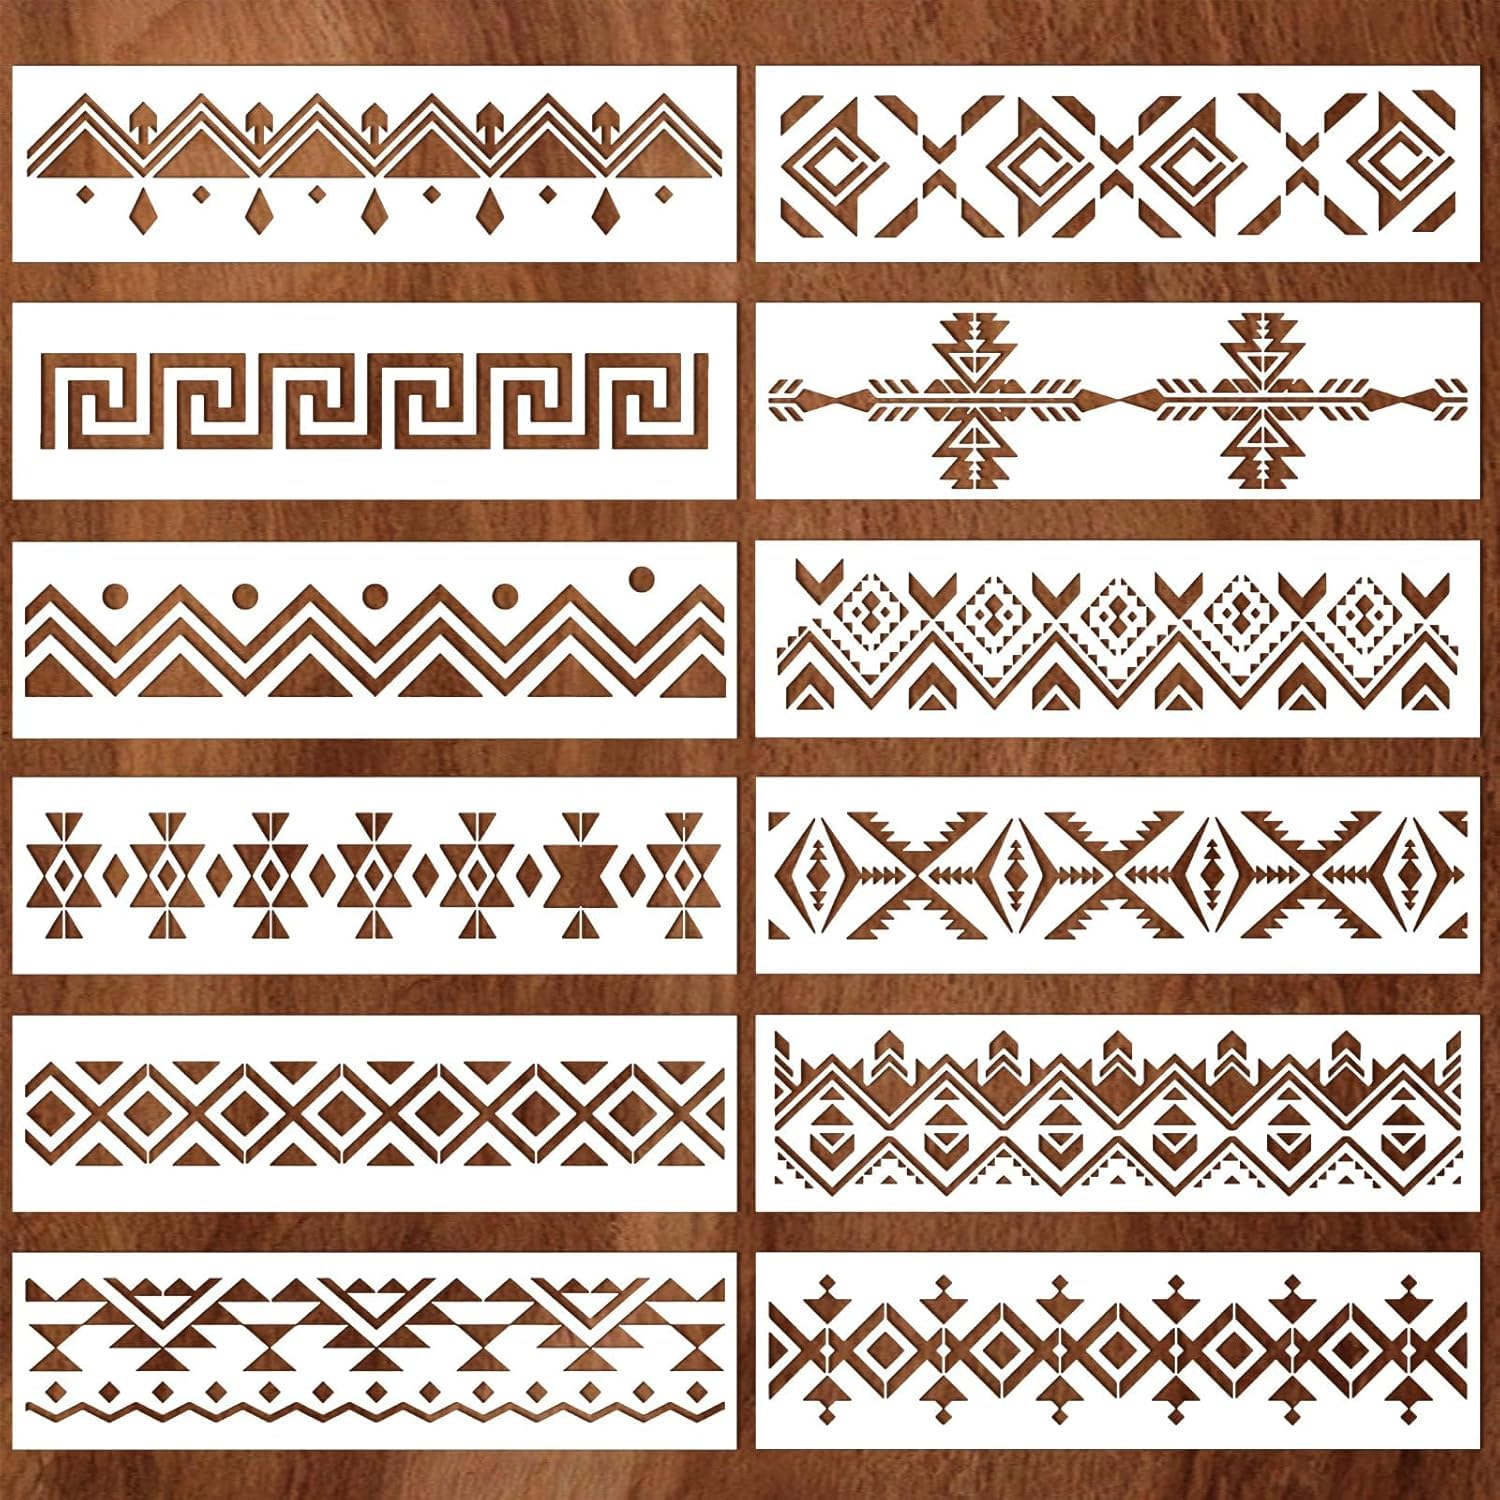
Stenciling allows you to create precise designs and patterns. Secure a stencil to your MDF piece and apply paint over it using a sponge or stencil brush. This method is perfect for adding details or creating repeating patterns.
Marbling creates unique, organic patterns by swirling different paint colors together. Apply paint to your piece, then use a tool to swirl and blend the colors. Each piece created this way is completely unique.
Decoupage involves adhering decorative paper or fabric to your MDF piece and then sealing it with varnish. This technique allows you to incorporate images, patterns, and textures from magazines, scrapbook paper, or fabric.
Creative Project Ideas for Beginners
Home Decor Projects
MDF cutouts are perfect for creating personalized home decor items. Wall art is one of the most popular applications. Paint a series of geometric shapes in coordinating colors and arrange them on your wall to create a modern art installation. Alternatively, use nature-themed cutouts like leaves, flowers, or butterflies to create a botanical wall display.
Door hangers are practical and decorative. Paint a cutout to match your home's style and personalize it with names, messages, or seasonal designs. These make excellent gifts and are quick projects for beginners.
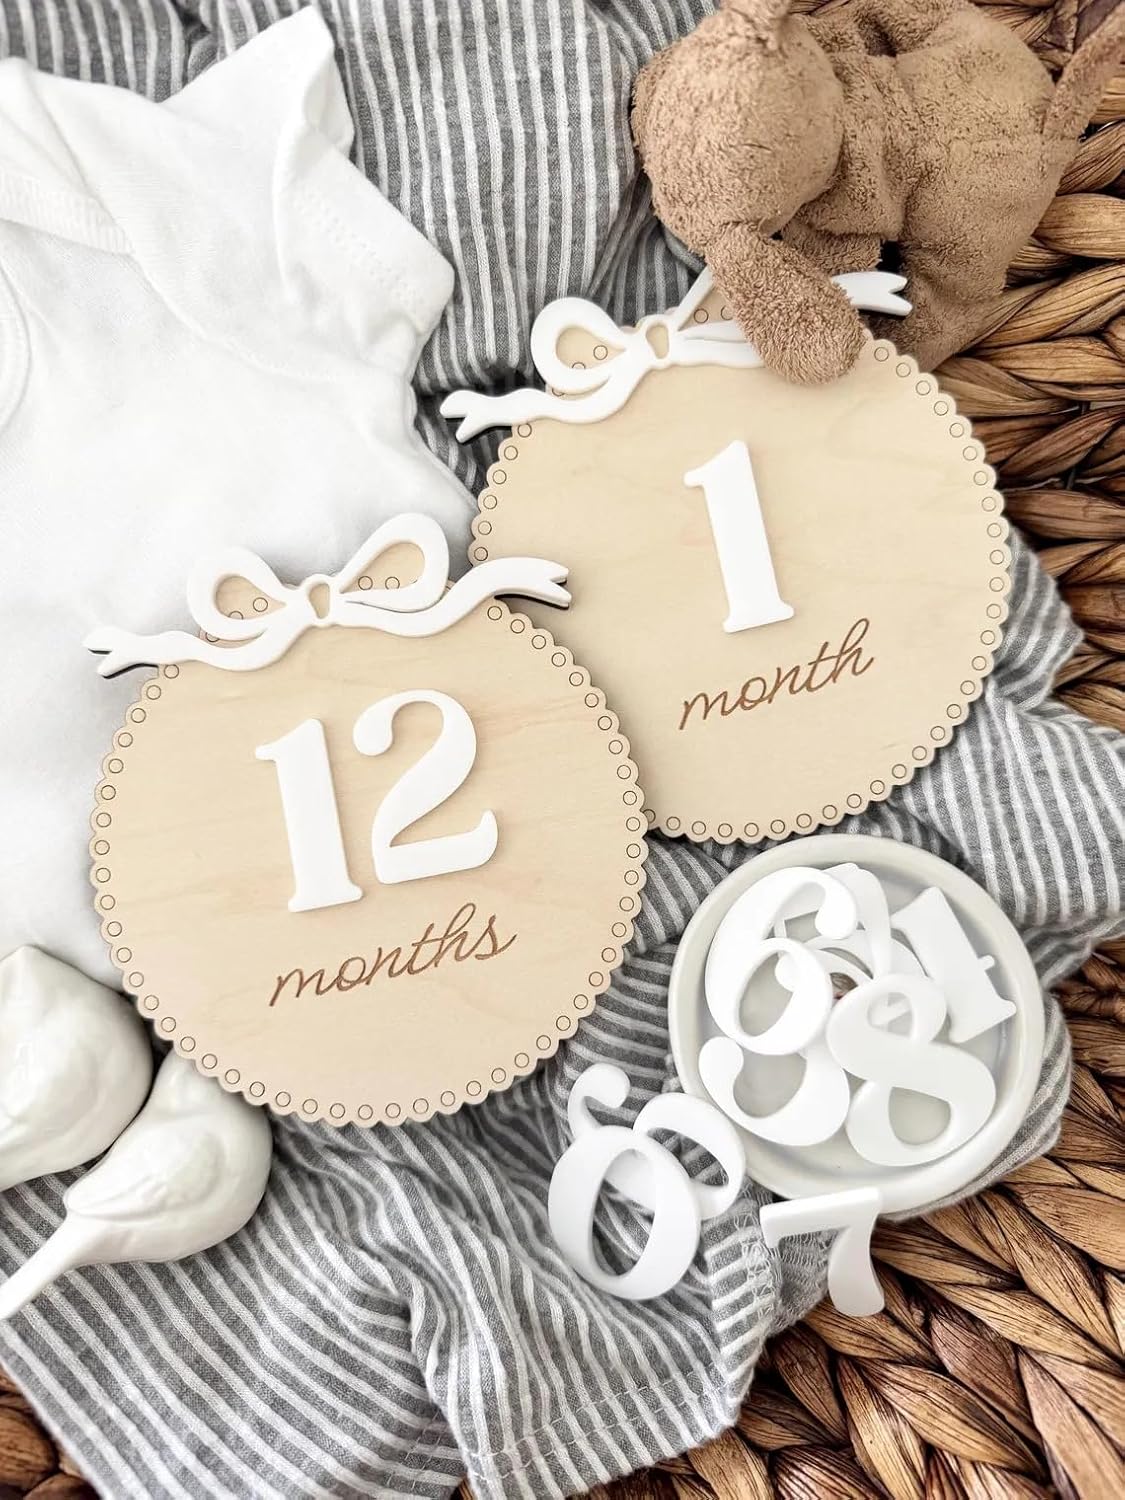
Shelf decorations add personality to any room. Paint MDF cutouts to coordinate with your decor and arrange them on shelves alongside books and other items. Seasonal decorations can be swapped out throughout the year.
Wall letters and monograms create personalized touches. Paint letters in your favorite colors and arrange them to spell names, initials, or meaningful words. These pieces work beautifully in bedrooms, nurseries, or entryways.
Personalized Gifts
MDF cutouts make thoughtful, personalized gifts that recipients will treasure. Baby shower gifts are particularly popular. Paint cutouts with baby animals, nursery rhymes, or the baby's name and initials. These pieces can be displayed in the nursery and become cherished keepsakes.
Wedding gifts can be created using heart-shaped cutouts or pieces that incorporate the couple's initials or wedding date. Paint them in the couple's favorite colors or in elegant metallics for a sophisticated gift.
Birthday gifts are limited only by your imagination. Create age-specific pieces for children, or personalize gifts for adults based on their interests and hobbies.
Pet lovers appreciate custom pet portraits or pieces featuring their favorite animals. Paint a cutout to resemble their pet or incorporate their pet's name into a decorative design.
Seasonal and Holiday Decorations
Seasonal decorations are perfect beginner projects because they're typically simple and forgiving. Christmas ornaments can be created from small MDF cutouts, painted, and hung on your tree or displayed in windows. Snowflakes, Santa figures, and festive designs are all possibilities.
Halloween decorations include pumpkins, ghosts, bats, and spooky designs. Paint them in traditional Halloween colors or create unique variations.
Easter decorations feature bunnies, eggs, and spring flowers. Pastel colors and cheerful designs make these pieces delightful.
Valentine's Day decorations include hearts, Cupids, and romantic designs. These pieces can be displayed in bedrooms, living rooms, or given as gifts.
Thanksgiving decorations feature turkeys, pumpkins, corn, and autumn leaves. These pieces celebrate the harvest season beautifully.
Educational and Functional Projects
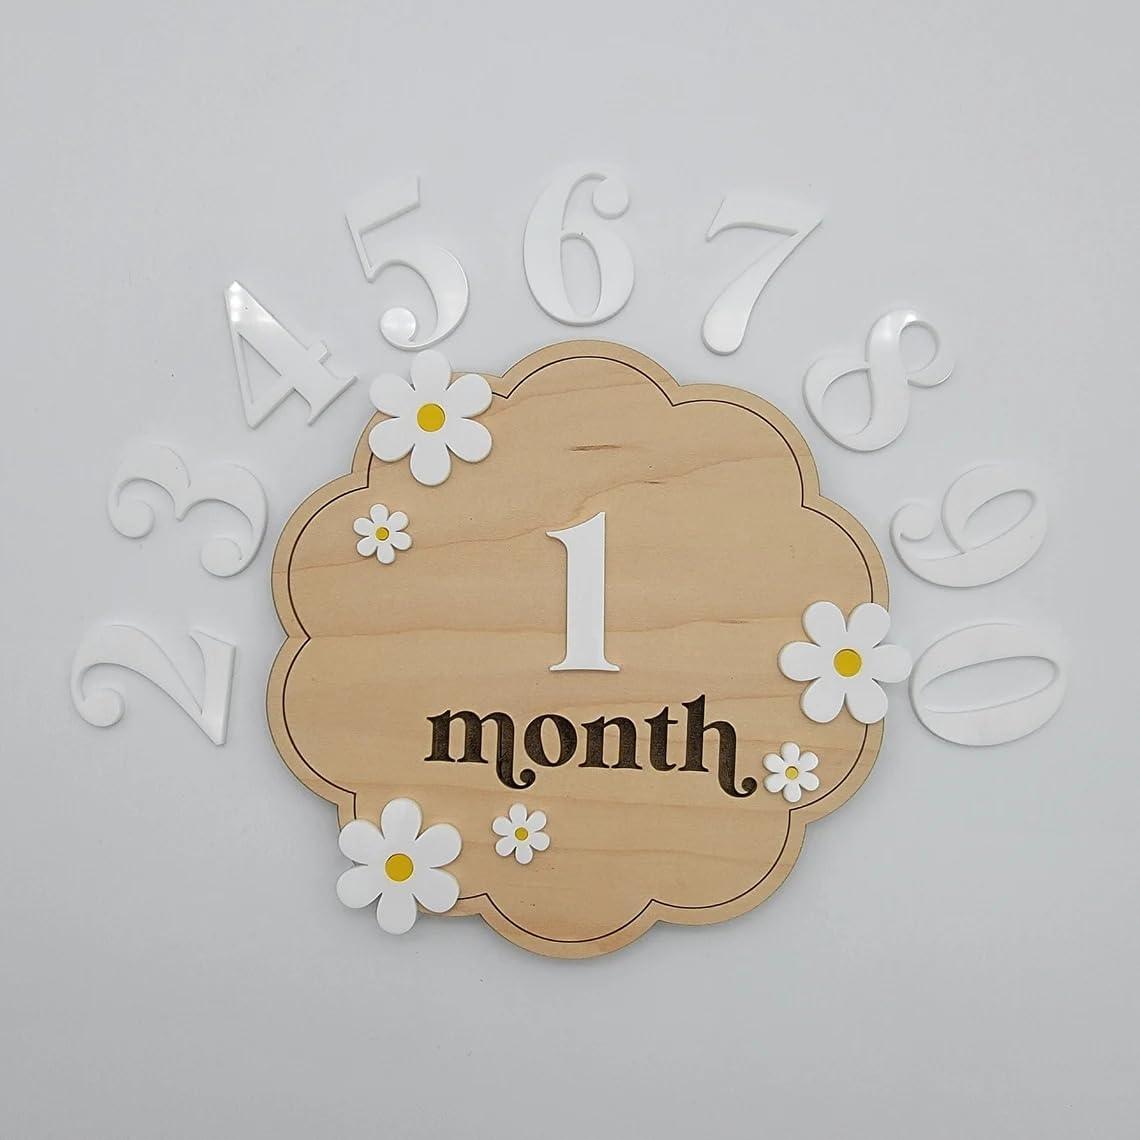
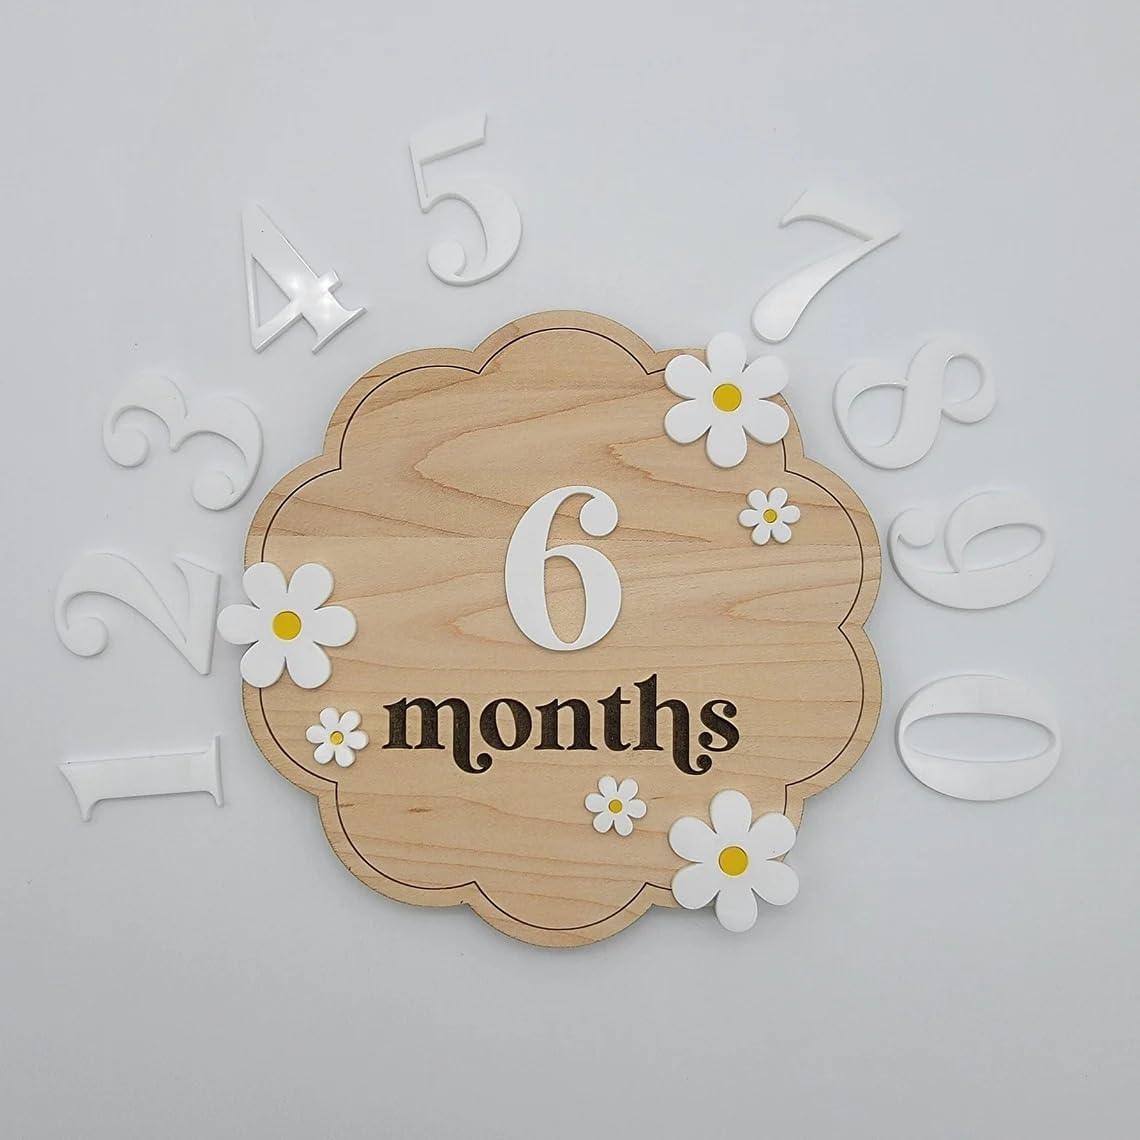
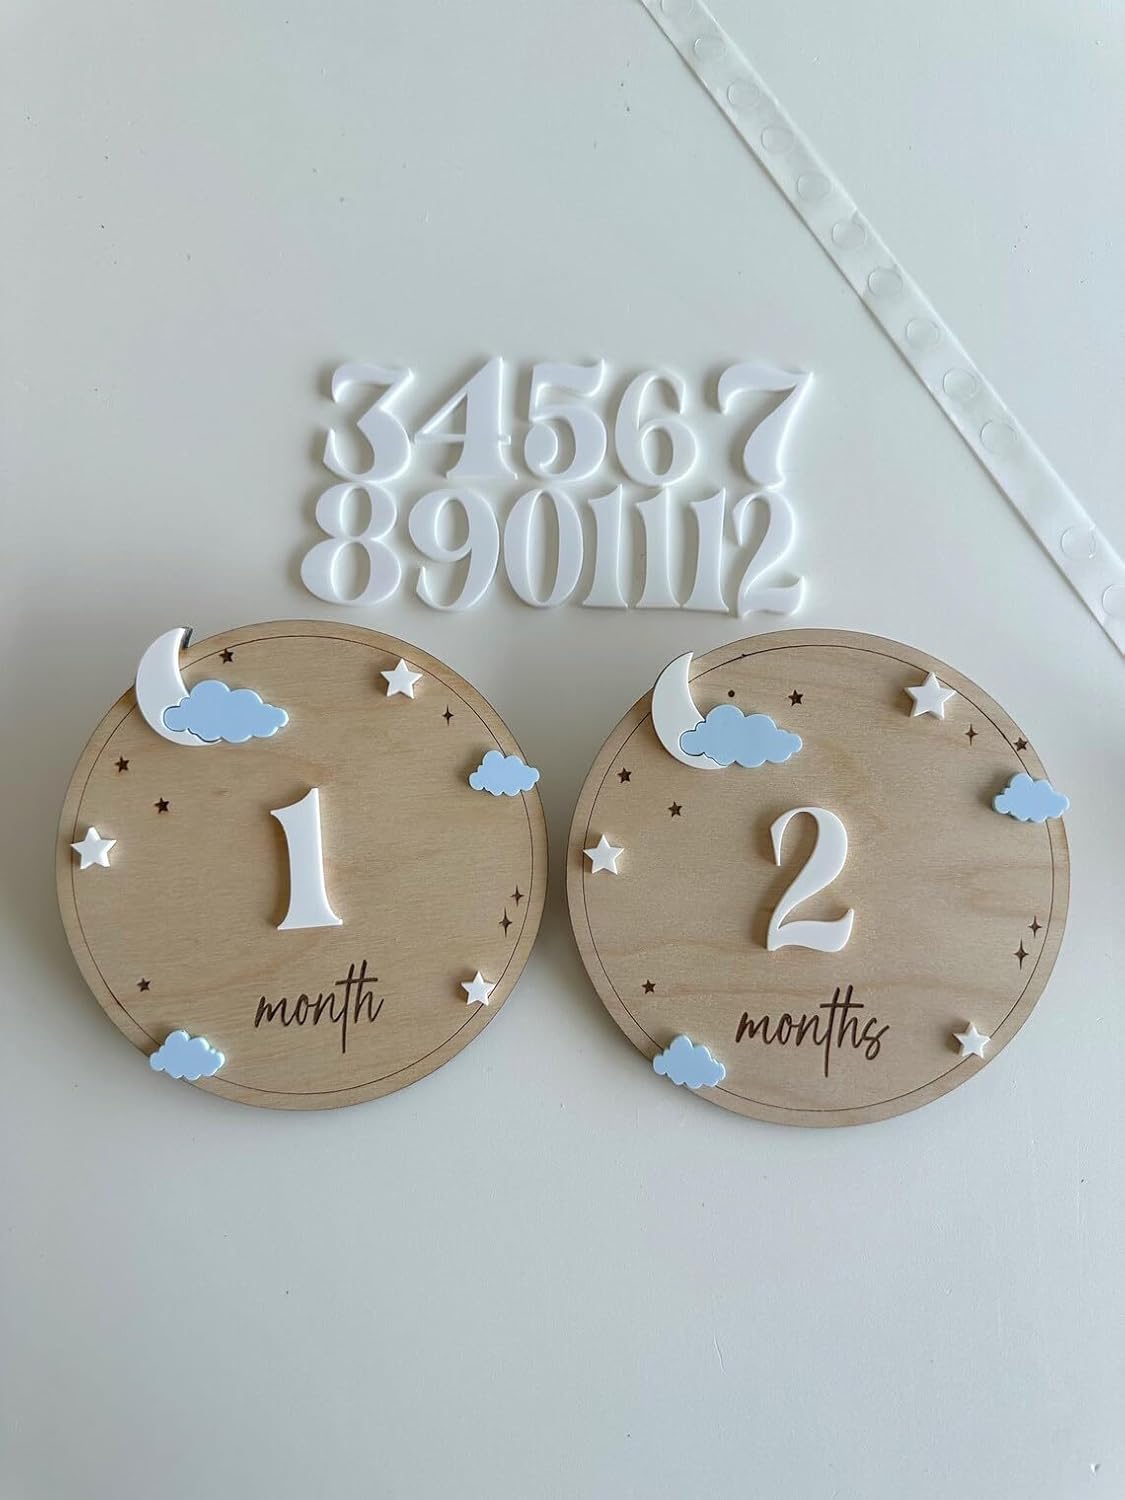
Alphabet and number cutouts are excellent for children's rooms or educational spaces. Paint each letter or number in a different color and arrange them to create an engaging learning environment.
Chore charts help children stay organized and responsible. Create a chart using MDF cutouts, paint it colorfully, and use it to track daily tasks.
Name plaques for bedroom doors or desks add a personal touch. Paint the cutout with the person's name and decorate it with their favorite colors and designs.
Bookmarks are practical gifts that combine functionality with creativity. Paint thin MDF strips or shaped cutouts and seal them with varnish for durability.
Advanced Techniques and Embellishments
Mixed Media Approaches
Combining MDF with other materials creates unique, visually interesting pieces. Fabric can be adhered to MDF using fabric glue or decoupage medium. This adds texture and visual interest to your projects.
Beads and sequins create sparkle and dimension. Hot glue works well for attaching these embellishments. Create patterns or cover entire areas with beads for a glamorous effect.
Ribbon, lace, and trim add elegance and sophistication. These materials work particularly well on gift items and decorative pieces.
Natural materials like twine, raffia, or dried flowers create rustic, organic effects. These materials are perfect for creating nature-inspired designs.
Specialty Finishes
Metallic paints and leaf create luxurious, eye-catching effects. Gold, silver, and copper finishes are particularly popular and work well with many color schemes.
Glitter and sparkle mediums add shimmer and shine. Mix these into paint or apply them over dried paint for a glittery effect.
Chalkboard paint transforms MDF pieces into functional items. Paint a cutout with chalkboard paint and use it as a message board, menu, or decorative sign.
Magnetic paint allows you to create functional pieces that stick to metal surfaces. This is perfect for kitchen organization or office displays.
Glow-in-the-dark paint creates fun, interactive pieces. These are particularly popular for children's rooms and Halloween decorations.
Aging and Distressing Techniques
Distressing creates a vintage, weathered appearance. After painting, use sandpaper to lightly sand edges and high points, revealing the base color or primer underneath. This creates an aged, rustic look.
Dry brushing with a contrasting color adds depth and dimension. Use a nearly dry brush with a darker shade to create shadows and highlights.
Staining over paint creates an aged, antique appearance. Apply wood stain over dried paint and wipe it away partially for a weathered effect.
Crackle medium creates a cracked, aged finish. Apply crackle medium between two paint colors, and as it dries, it creates natural-looking cracks.
Finishing and Protecting Your Projects
Sealing Your Work
Protecting your finished MDF projects ensures they remain beautiful for years to come. Varnish is the most common protective finish. It comes in matte, satin, and gloss finishes, allowing you to choose the appearance you prefer.
Polyurethane provides a durable, water-resistant finish. This is particularly important for pieces that will be handled frequently or displayed in humid environments.
Acrylic sealer is water-based and easy to apply. It dries quickly and provides good protection without yellowing over time.
Wax finishes create a soft, natural appearance while providing protection. These finishes are particularly popular for stained MDF pieces.
Application Methods
Brush application is the most straightforward method. Use a quality brush and apply thin, even coats. Allow each coat to dry completely before applying the next. Two to three coats provide adequate protection.
Spray application creates a smooth, even finish without brush strokes.